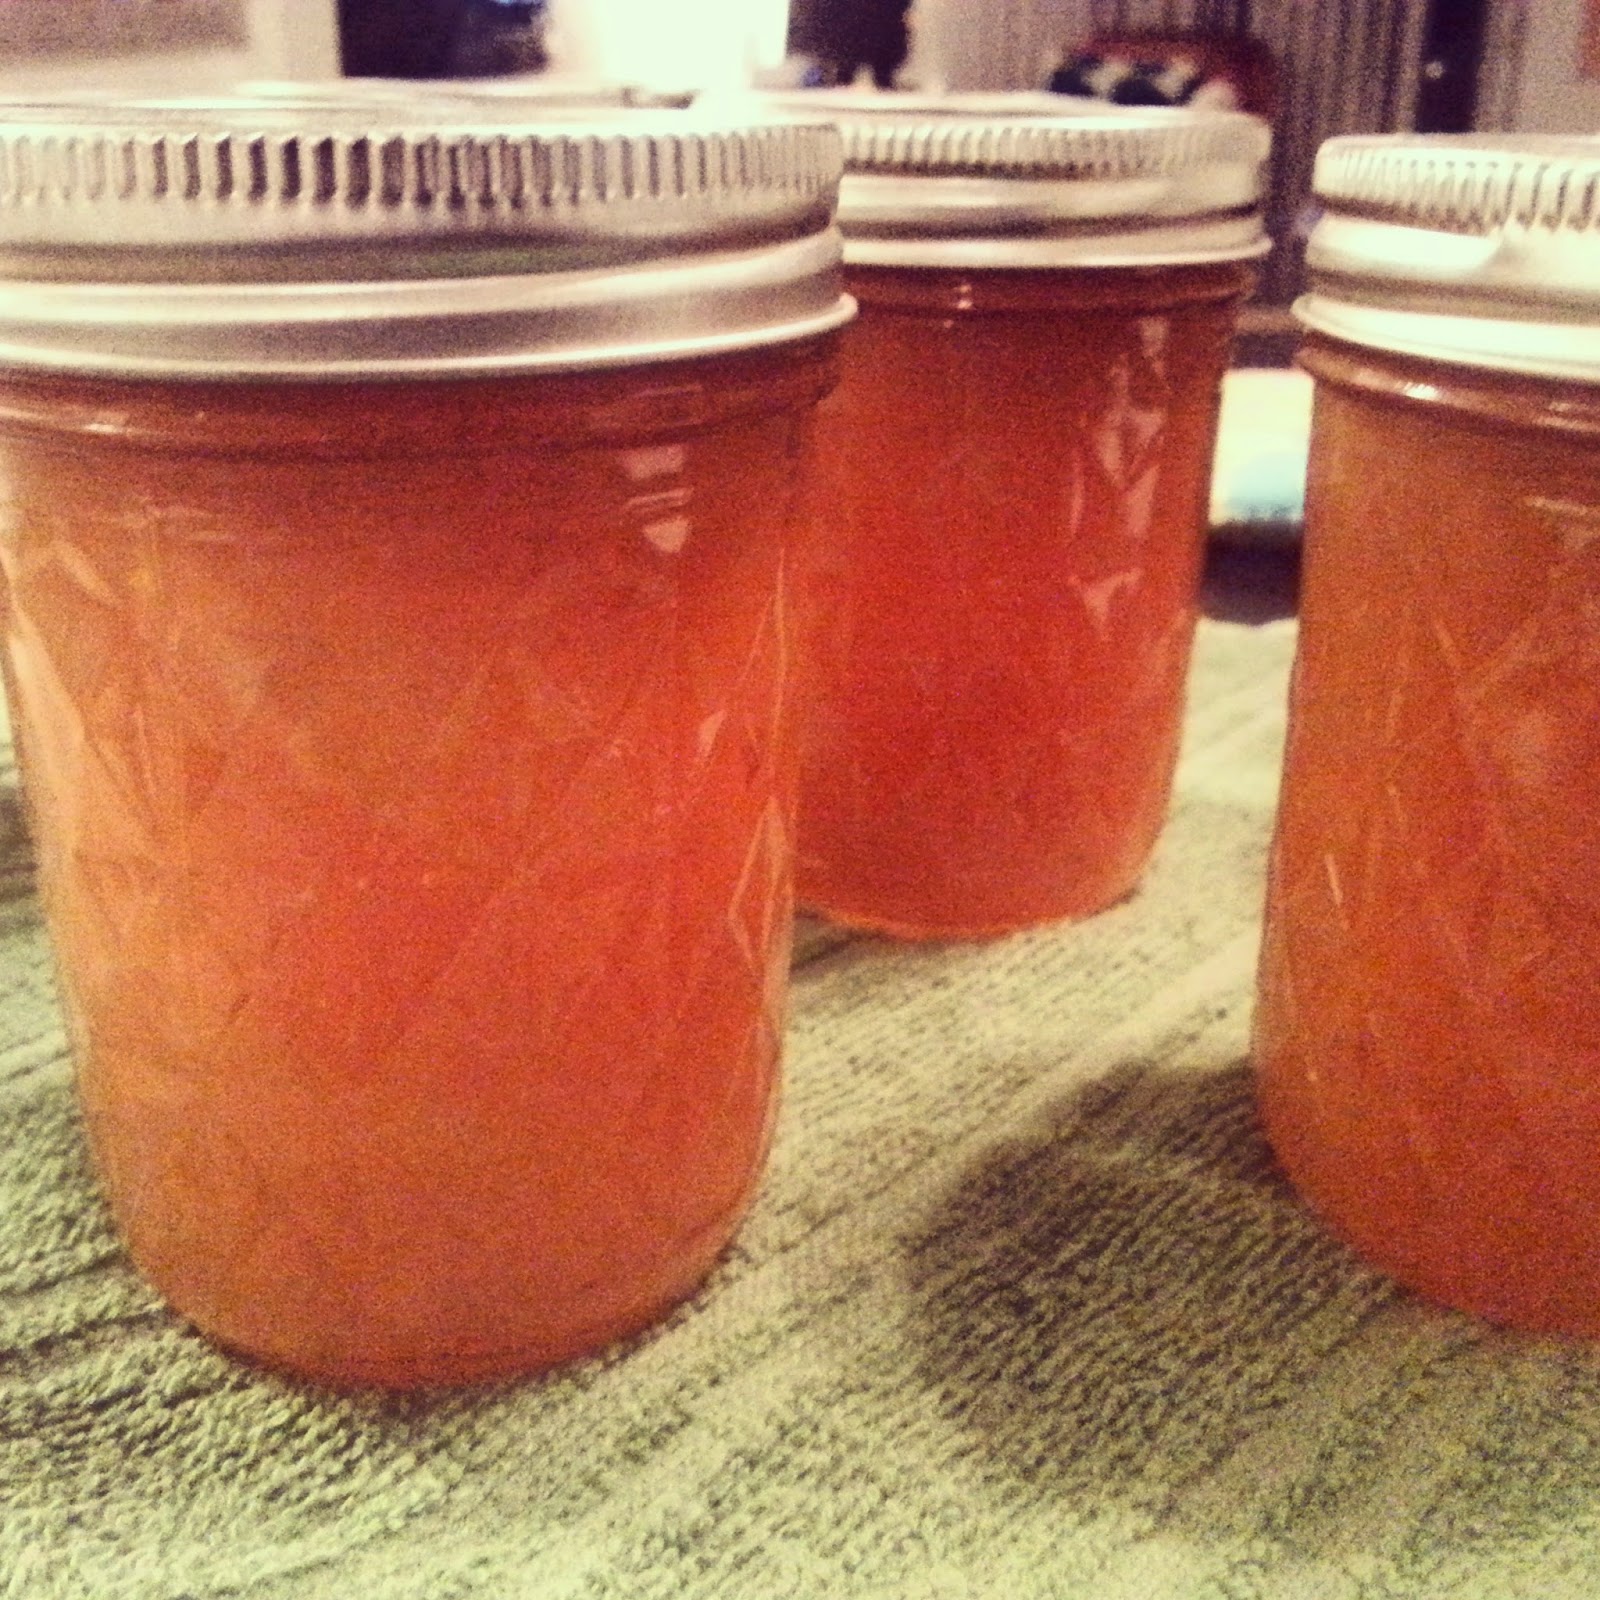
Homemade apricot jam
Hi guys! I'm happy to be back to show you what I've been up to. Remember the other day when I picked my own apricots at the orchard? Well, today I started making jam! And boy, let me tell ya, I'm gonna be at this for a while! I think I over estimated how much my 2 bags of apricots would make. Oh My!
I'll just walk you through how I made jam. It seems like a big deal, but it's not. Really. If I can do it, then so can you!
I got my recipe for apricot jam from the instructions found inside the box of Can-Jel. All boxes of pectin include recipes and instructions. There are even instructions and recipes on the back of the case of canning jars! Pick which one works for you. Now lets get jamming! :)
Step 1: Get your equipment together.
You'll need the following:
*fruit of choice
*sugar (and tons of it!)*canning jars and lids.
* potato masher (or hand blender)
*canning tongs. I totally recommend them. (Lets just say it's tricky using regular shaped tongs to pick up a hot heavy jar straight up out of bowling water)
*Pectin. I used the Kroger brand Can-Jel. I've used other brands before, never had a problem. This one works great for me, plus it was on sale. (I've used the liquid pectin before. It worked great with cooked jam. But it doesn't set up enough with the no-cook/freezer jam, it stays a little too liquid-y for my taste)
*Big pot to cook your fruit in
*a big pot that can fit your jars with room to spare on top. (the water needs to cover the top of the jars)
*a cute apron, cause 1) we don't have anything but cute aprons, and 2) we gotta look the part, plus look good for the pictures we take to prove we did it :) and 3) that boiling jam sure is hot when it splatters!
 |
| Here's a shot of the package insert that has recipes for both no-cook and cooked jam and jellies. |
Step 2. Get your fruit ready.
For apricots, wash and remove the pits. If you want to cut them up more, that's great, but you're going to smashed them up eventually.

Step 3. Get your canning jars and lids and water ready.
A) I boiled the flat lids in a pot of water, and once they boiled I turned the heat off and left them in the water, until I was ready for them.
B) The jars can either be put through the dishwasher or boiled. They just need to be clean and still hot when you put in the hot jam,or else there's a chance the glass will break of they are cold.
C) Fill the other big pot with hot water and start it to boil. Make sure there's at least 2 inches of water over the top of your jars!!!
Step 4. Cooking the jam.
Here's where you follow the recipe and instructions on the insert.
In my case for apricots, the recipe called for 5 cups of smashed fruit, and the box of the pectin to be boiled together. Once it boils, add in the 7 cups of sugar. Once it comes to a Full Boil, boil it for 1 minute, all the while stirring. This took no time at all. I think I was re-reading the instructions to make sure I wasn't missing something, and Oh! I was boiling! and Poof! it's done!
To recap;
Smash a bunch of apricots. Keep smashing until you get 5 cups worth and put it all in big pot. Add the pectin. Stir (smash the fruit some more if it's too chunky) Keep stirring. Let it get to a full rolling boil.
Once it''s at a rolling boil, add in your 7 cups of sugar. Stir, and as soon as it gets back up to a rolling boil, time it for 1 minute. (if you worried, it's better to go a little over, to make the jam thicker, than under, which will make it a thinner jam)
Thats it! You officially made jam!!! You go with your bad self!
Then take it off the heat and continue to stir for 5 minutes.(this helps keep the fruit from separating. If you don't care, then sit down, and take a breather for 5 min)
Sometimes it gets foamy. If it does, you can skim that part off. Mine only did for a little bit, then it went away.
 |
| Here's a shot of it boiling. It gets pretty messy in there, but it sure tastes good! |
Step 5. Put filled jars in the hot water.
Use your fancy canning tongs to pick up and place the hot jam jars into your hot water.
Boil for the allotted time. I did 5 minutes of a rolling boil. Your recipe and altitude might necessitate time being added on.
It's best if you can set the jars on top of a layer of extra rings, so that the water can circulate around the jars. The water of course is over the top of the jars by at least 2 inches. If you're only doing a couple jars, and the pot is really big, you can fill the pot with empty jars, so your stuff won't fall over.
 |
| Look! I'm canning! |
Don't touch. Let them rest over night. If you did it right, the lid will be sucked down, and won't move. These all eventually made a popping sound. This is good! It means I did it right. If you have one that didn't seal, no worries. You get to eat that one first :)
Hugs!
Caroline


