Friday, July 4, 2014

Happy 4th of July!

Here's to everyone having a safe and fun-filled 4th of July!
I am so thankful for all those who have bravely fought for our freedom. 
 Go USA! 


Here's is a little something I whipped up last year as a fun gift for my sister. It's a lovely desk set. A Eagle pen holder and a paperclip holder.

You too can make the perfect fun/gag gift for your super patriotic friends and family. This is just a big eagle from Michael's with holes drilled in it's back. The smaller eagle is glued to the edge of a glass ashtray I found at a thrift store. Add some Sharpies and a ribbon, and you're done!

This would even make a fantastic centerpiece if you use the Big Eagle Pen Holder to hold a bunch of mini American flags. Hmm. I wonder if I can borrow this back from my sister??


Here's a little song to set the "God Bless America" mood. :)

Hugs!
Caroline

Thursday, July 3, 2014

Homemade Strawberry Jam

Hi!
I was craving a warm piece of toast with strawberry jam this morning. Doesn't that sound good? Mmm. Yummy! The sad news is we're all out of our super tasty homemade strawberry jam. Oh No!
You know what this means... Time to make some more!!***

I tried out a new recipe and pectin product today. I'm really excited to see how it sets up in the morning. It already tastes great. It's hard to mess up strawberries. :)  I had everything but the strawberries. and they only cost $1.25 each (for a clam shell). This is going to not only be delicious but cheap! I love it even more!!

I used the recipe from the inside label found on a jar of  Ball's Real Fruit Pectin Instant Pectin. This is what pectin I'm using today. I've never used this brand/type before. Hopefully it'll set up nicely. (if not, I just made some really tasty strawberry/blackberry ice cream topping!)

This is what you need:
strawberries
sugar
pectin
potato masher or hand blender
measuring cups and spoons
containers to put jam in
big bowl to mix everything in

Recipe:
smashed fruit: 3 1/3 cups 
sugar: 1 1/3 cups
pectin: 4 Tblsp
++  if you use Peaches you need to add 2 Tblsp lemon juice++


Step 1.A  Stir sugar and pectin together in separate bowl

Step 1.B.  Smash the fruit.
I didn't have enough strawberries to get the full 3 1/3 cups, so I added blackberries from the freezer. Yum!
Smash it! Smash it Real good! 
(I got tired of smashing so I cheated and used the hand blender. A couple pulses later and your done!)

Step 2. Add smashed fruit to sugar mixture. STIR 3 MINUTES.
Stir and Stir some more. 
 Step 3. Put jam into your containers and let STAND 30 MINUTES.


And there you have it! You just made jam in no time at all!

Bonus Step 4. Take a picture and show us what you made! :)

***If you remember, I made a TON of apricot jam last month. In the midst of vats and vats of apricots, I snuck in a easy-peesy batch of strawberry jam, just for fun. Turns out, Out of all the flavors of jam I made, strawberry is my nieces favorite (and mine too!) Between toast every morning and giving it away, we ran out faster than I expected. Oops. You'd think I'd be over making jam, but I guess not. It's totally easy plus the fun surprise of mixing fruits together. It's just awesome goodness in a little container!

I'll let you know how my toast is in the morning!!

Hugs!
Caroline

Wednesday, July 2, 2014

4th of July favors

Happy 4th of July!!
I enjoy giving out little holiday pins or cute little somethings/party favors to my friends and coworkers for the holidays. I was at a loss on what to do for the 4th of July, and then I found these cute paper fans at the dollar store! Score! I even found these ribbon bracelets there too, which are attached as decoration. It's 2 gifts in 1! Bonus!
It's cute and handy! We can fan our hot selves in the heat and look patriotic while we're doing it!  (Today's temperature was 111 degrees and it's supposed to get even hotter on the 4th! I think the fireworks might set themselves on fire!)


Now to print out little tags that say "Have a FANtastic 4th of July!"

Hope everyone has a safe and fun holiday! Stay COOL! :)
Hugs!
Caroline

Friday, June 6, 2014

Homemade Apricot Jam

Homemade apricot jam

Hi guys! I'm happy to be back to show you what I've been up to. Remember the other day when I picked my own apricots at the orchard? Well, today I started making jam! And boy, let me tell ya, I'm gonna be at this for a while! I think I over estimated how much my 2 bags of apricots would make. Oh My! 
I'll just walk you through how I made jam. It seems like a big deal, but it's not. Really. If I can do it, then so can you! 

I got my recipe for apricot jam from the instructions found inside the box of Can-Jel. All boxes of pectin include recipes and instructions. There are even instructions and recipes on the back of the case of canning jars! Pick which one works for you. Now lets get jamming! :)

Step 1: Get your equipment together. 
You'll need the following:
*fruit of choice
*sugar (and tons of it!)
*canning jars and lids.
* potato masher (or hand blender)
*canning tongs. I totally recommend them. (Lets just say it's tricky using regular shaped tongs to pick up a hot heavy jar straight up out of bowling water)
*Pectin. I used the Kroger brand Can-Jel. I've used other brands before, never had a problem. This one works great for me, plus it was on sale. (I've used the liquid pectin before. It worked great with cooked jam. But it doesn't set up enough with the no-cook/freezer jam, it stays a little too liquid-y for my taste)
*Big pot to cook your fruit in
*a big pot that can fit your jars with room to spare on top. (the water needs to cover the top of the jars)
*a cute apron, cause 1) we don't have anything but cute aprons, and 2) we gotta look the part, plus look good for the pictures we take to prove we did it :) and 3) that boiling jam sure is hot when it splatters!
Here's a shot of the package insert that has recipes for both no-cook  and cooked jam and jellies. 

Step 2.  Get your fruit ready.
For apricots, wash and remove the pits. If you want to cut them up more, that's great, but you're going to smashed them up eventually.

Step 3. Get your canning jars and lids and water ready. 
A) I boiled the flat lids in a pot of water, and once they boiled I turned the heat off and left them in the water, until I was ready for them. 
B) The jars can either be put through the dishwasher or boiled. They just need to be clean and still hot when you put in the hot jam,or else there's a chance the glass will break of they are cold. 
C) Fill the other big pot with hot water and start it to boil. Make sure there's at least 2 inches of water over the top of your jars!!!  

Step 4. Cooking the jam. 
Here's where you follow the recipe and instructions on the insert.
In my case for apricots, the recipe called for 5 cups of smashed fruit, and the box of the pectin to be boiled together. Once it boils, add in the 7 cups of sugar. Once it comes to a Full Boil, boil it for 1 minute, all the while stirring. This took no time at all. I think I was re-reading the instructions to make sure I wasn't missing something, and Oh! I was boiling! and Poof! it's done! 
To recap; 
Smash a bunch of apricots. Keep smashing until you get 5 cups worth and put it all in big pot. Add the pectin. Stir (smash the fruit some more if it's too chunky) Keep stirring. Let it get to a full rolling boil. 
Once it''s at a rolling boil, add in your 7 cups of sugar. Stir, and as soon as it gets back up to a rolling boil, time it for 1 minute. (if you worried, it's better to go a little over, to make the jam thicker, than under, which will make it a thinner jam)
Thats it! You officially made jam!!! You go with your bad self!
Then take it off the heat and continue to stir for 5 minutes.(this helps keep the fruit from separating. If you don't care, then sit down, and take a breather for 5 min)
Sometimes it gets foamy. If it does, you can skim that part off. Mine only did for a little bit, then it went away. 
Here's a shot of it boiling. It gets pretty messy in there, but it sure tastes good!
Step 4. Fill your jam jars. You're putting hot jam into hot jars. Leave 1/8 inch at the top. Wipe the rims clean. Fish the flat lids out of the hot water and put a lid on each jar. Then screw a lid ring down on each jar, snugly, but NOT super tight. (If it's too tight the trapped air can't escape)

Step 5. Put filled jars in the hot water.
Use your fancy canning tongs to pick up and place the hot jam jars into your hot water.
Boil for the allotted time. I did 5 minutes of a rolling boil. Your recipe and altitude might necessitate time being added on.
It's best if you can set the jars on top of a layer of extra rings, so that the water can circulate around the jars. The water of course is over the top of the jars by at least 2 inches. If you're only doing a couple jars, and the pot is really big, you can fill the pot with empty jars, so your stuff won't fall over.
Look! I'm canning!
 When you're time is up on the boiling water process, let the jars cool in the water for 5 min. Then take them out. Here's your fancy canning tongs again. Make sure you lift straight up, not at a angle. This is supposed to help with the sealing of the jar.

Don't touch. Let them rest over night. If you did it right, the lid will be sucked down, and won't move. These all eventually made a popping sound. This is good! It means I did it right. If you have one that didn't seal, no worries. You get to eat that one first :)
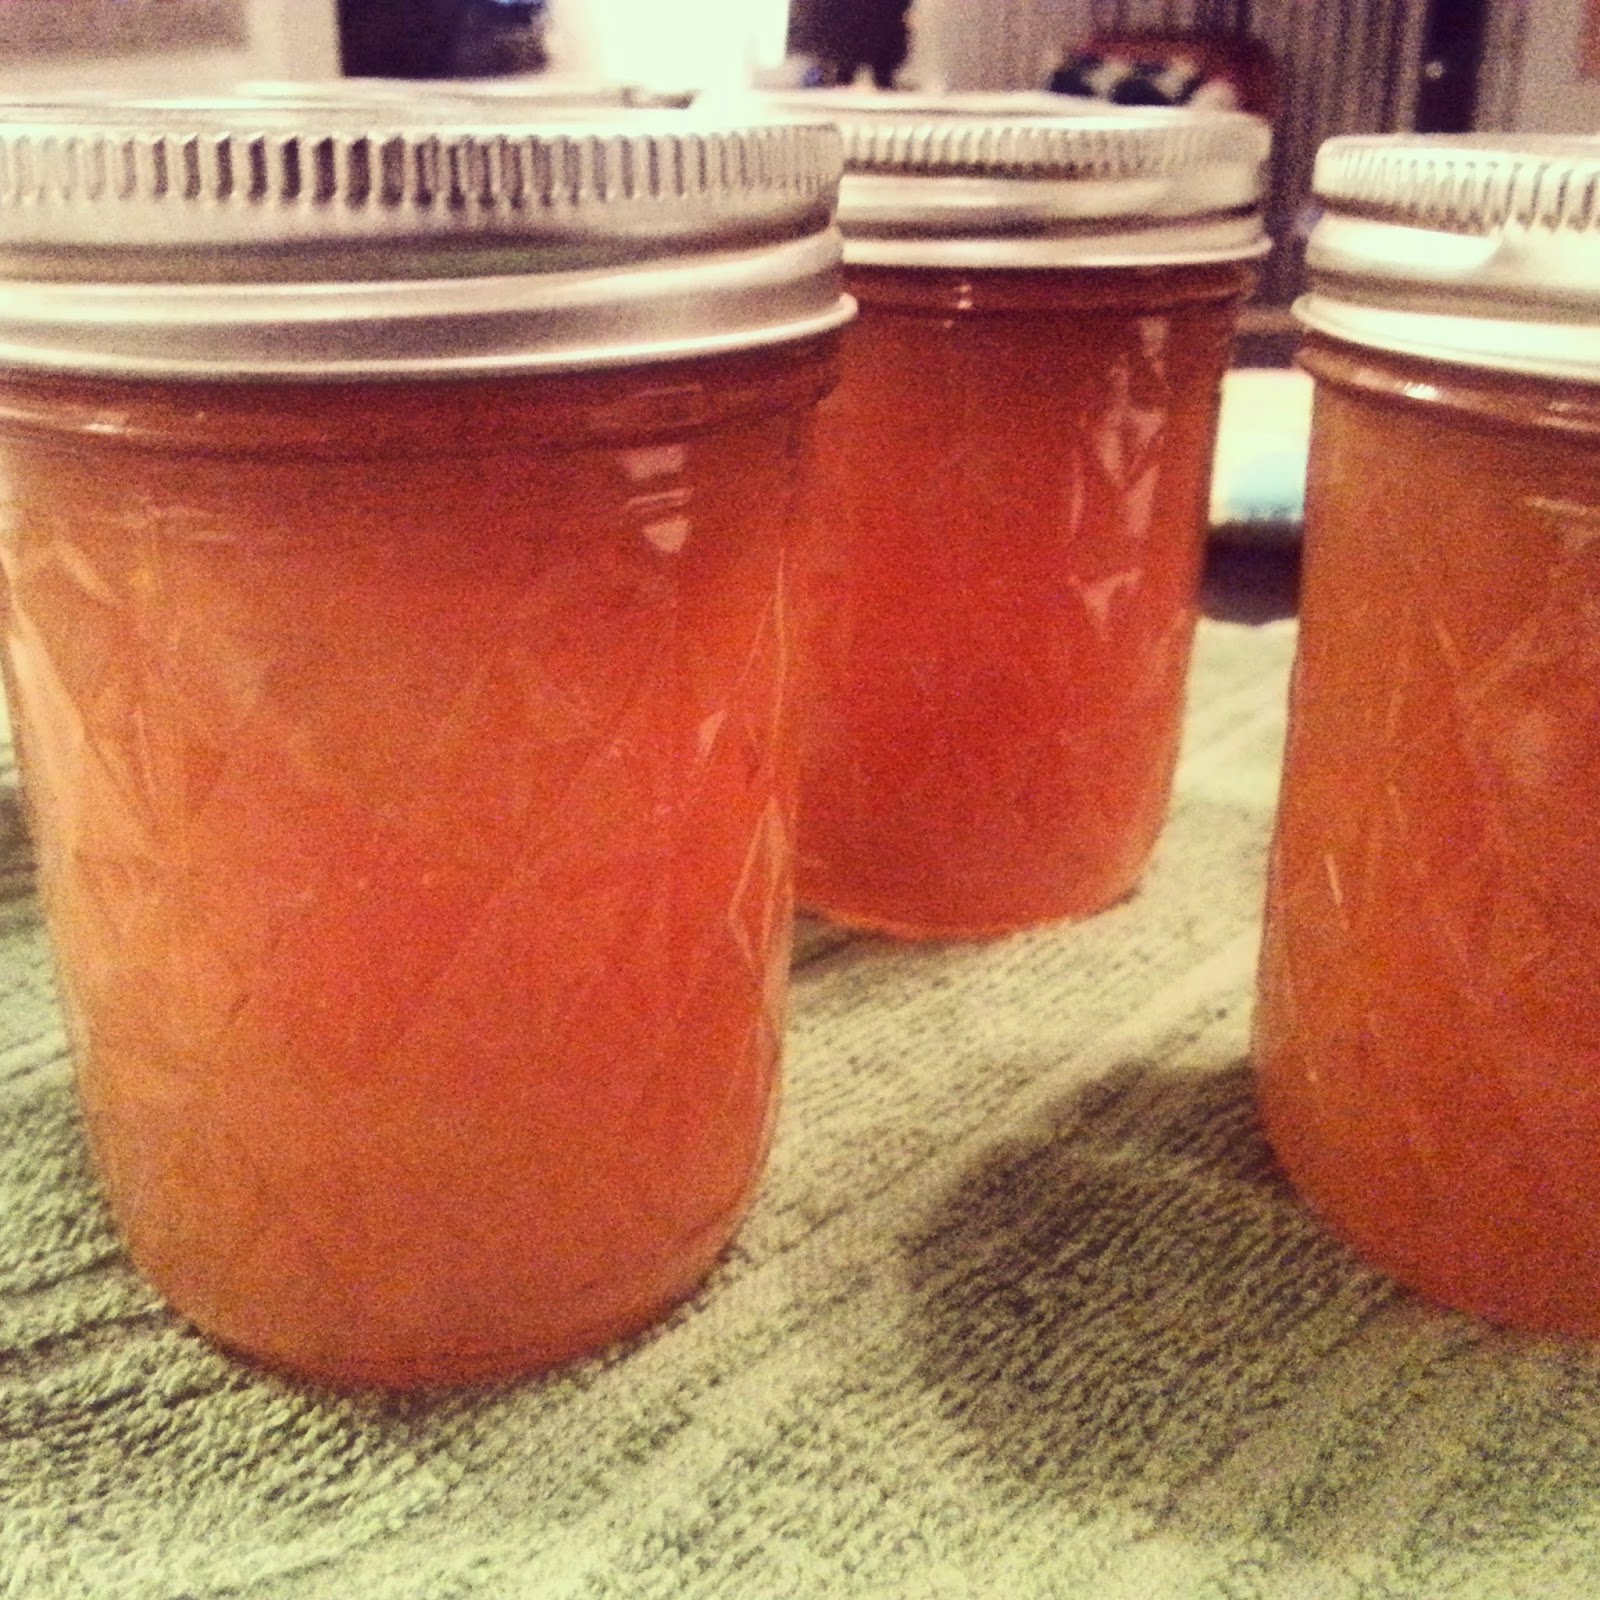
 

 I can't wait until tomorrow when I get to have toast and jam!
Hugs!
Caroline

Wednesday, June 4, 2014

DIY Polka dot Flower Pot

Well, hello friends!
Tonight, while I was busy cutting up fruit for jam, I decided to take a break and finish up another project.
Here it is, the polka dot flower pot/plant urn!


I found this urn shaped plastic pot at a local thrift store for just $3. I totally love this shape! I've been looking for something like this for a while, so I'm really excited. My thought was to use this for Halloween. Can't you just see this in black, holding a artfully arranged bouquet of glittery dead branches? Sigh. Love it. 

Halloween is such a ways away... and it's so cute I want to display it now. If I paint it black, I think it'll "disappear" and it's cuteness won't be noticed.  So.. what will go with my current decor? 
GOLD! 
(Like I'd pick something else?  lol )

So...here it is, in the midst of transforming from original white plastic to gold. 

Here's the finished paint job.  Awesome in gold, but needs a little punch of flavor, some excitement. 

So.... I decided to paint on polka dots!. 

Here's my super scientific way of making a 2 inch circle for a template.

Using the perfectly round circle I cut out, I traced around it onto the pot. I just placed it randomly.


I wanted to paint the dots black, but, gasp! I'm out of black! (Oh the horror!!) So I used a dark purple instead. Looks totally fine. I think it's better than black. I just painted inside the lines. totally easy. I did 2 coats of paint for better coverage.
This is the paint and bush I used. I'm not picky at all about my acrylic paint. I am picky about brushes. I like decent brushes. They totally make a difference. (This isn't a top of the line sable or anything, but it's not a junky, plastic bristle thing either.) This might be the art school opinion talking but I've handed people good brushes and they swear they're never going back to the crap ones again.


Anyway.. back to my cute urn. Here it is again.


This is the black cabinet where the  polka dot pot currently lives. 
How do you like my 70's gold mirror? It's from the house I grew up in. 
I think the arrangement here isn't quite right yet. It needs some work. I was thinking of adding lots more pictures, making this the crazy picture wall. I'm open to suggestions! Maybe a black velvet painting?? See, I need help :) 


Have a great day!
What awesome things have you made while taking a break from something else?

Hugs!
Caroline

Sunday, June 1, 2014

Field Trip to the orchard: pick your own fruit and veggies

Saturdays are special days! Mine started off great with a field trip to Gilcrease Orchard, where we got to pick our own produce.

Look at all the awesome stuff we brought home!


The fields seem to go on and on.
It was a beautiful day. Sunny, nice breeze, blue skies.
At 7:30 am, there were what seemed like hundreds of people already there, enjoying the fresh outdoors.(Or 'cause they were smart. It got over 100 degrees later that day)

Just in case you were wondering, the main row in the picture, and everything to the left, is zucchini and squash. The row to the right are beets, then carrots right of that.

There are other sections of the fields were things are still growing and aren't ready yet.  They are open until sometime in November. They even have pumpkins for Halloween.
 I was really excited to pick my own carrots. The big ones, in the middle of the row, were kinda jammed in close to each other. I accidentally  broke off the green stems on a couple carrots and had to dig them out. Oops!
I tell ya, I'm working hard for my food. :)
These are gonna be the best tasting carrots ever!
Then we drove to the part I was really looking forward to, the Apricots!! 
This is Sophia, my neighbor. She's making sure the apricots are ripe. And good enough to take home.:)
Look how long those rows are! Doesn't it look like it goes on forever? We walked in quiet a ways to all the good stuff. We found lots of trees in the middle that haven't been picked over.


 Here's a tree that if you shake it the fruit would just fall off! I went a little crazy and got tons. 
Apricot jam here I come! 


Look at those apricots! Aren't they great looking?!

I had a coworker who for a couple years, would bring me bags and bags of apricots. They were amazing.  I'd make jam every year. Then the tree died. So sad. 
Then I found out about the orchard, and how I can pick my own. Score! 
Guess what I'll be doing for the next couple days? 
You know it, Jamming! 
Jamming with some jams 
(that was a little 80's throwback there, sorry)

speaking of jams, "First, let me take a selfie" 


Here's another shot of my loot. Besides the apricots, and carrots, I got beets (they were pretty small, but I can eat the leaves) a big ol' red onion, couple different types of zucchini (zucchini bread anyone?) and the best thing of all, honey from their beehive!!

Across the street from the orchard is another house/farmer who raises chickens and sells eggs. I forgot this time, but my next trip out there I'll have to stop by for some super fancy organic eggs from their free range hand fed chickens. This family also has rabbits and goats, and set up their place like a petting zoo. Totally cute. It's a fun little excursion to see both the orchard and the egg place. I totally recommend it if you're in the area.

Hope you all had a fabulous, special day!
Hugs!
Caroline

Tuesday, May 13, 2014

Be Kind to Animals Week

Hi friends! Last week, May 4-10th, was Be Kind to Animals Week. To celebrate the occasion, I did a couple things extra nice for my pet. I'm excited about it! Let me show you.

For starters...
A new bedazzled collar!


This was a really simple craft. A extra collar, a bucket of jewels, and a tube of adhesive. All of which I just laying around the house. My out of pocket price? FREE. Score!


best glue ever!

I'm really impressed with this glue. This is my new favorite glue. It's called Welder. It's a clear gel, and the best part, NOT SMELLY! I bought it at Home Depot a couple months ago. (Some craft adhesives have a super strong chemical smell that lasts and lasts, but not this one!)

The bling is blinding me!

Here's the cat, wearing her new fancy collar! It's been a couple days since I made it, and it's still on. Nothing has fallen off. All the jewels are still in place! Yay!

Thanks for the tuna. I won't kill you just yet

Then, besides giving the cat a can of tuna, the second thing I did was plant some Cat Grass. If you have a cat, I totally recommend this! My cat has been going crazy! She loves it! You can get it here or at Walmart or your local pet store.

Throw it on some dirt. Keep it watered. 3 days later you'll have sprouts. Totally easy!

It might be just plain oat seeds, but I swear, by the way the cat's been acting, it's a little more "herbal', if you know what I mean. She has the munchies, has been all lovey-dovey, and best of all; doesn't try to bite me just for the fun of it. Lets just say planting this is the best thing I've ever done. It's cheaper than cat Valium!


I don't know about you, but I think this shot of the cat, all up in the flower pot, chowing down like nobody's business, is funny. Usually, there's a no picture taking tolerance policy in place, but somehow, I got right up in her face.. I think she was too busy to notice.


Ok, fun time is over. get back to work!

And that's it for today's pet pictures. :) Hope you did something special for your pet this week.
Hugs!
Caroline

love and cute strangers

"A perfectly cute stranger fell in love with me last Saturday. Let me explain. It all started a couple weeks before Valentines...