Hi folks!
This past weekend it rained here in the desert. It was beautiful! More than five minutes worth of rain too! I love the rain! I don't know about you, but rainy weather always makes me want to stay at home, make cookies and snuggle on the couch with a blanket and read. Doesn't that just sound dreamy?!
Well, since I wasn't about to go anywhere..(and in case you were wondering.. Yes, I was strong, I did NOT make cookies) I decided to tackle a project I've been putting off for a while. I started cleaning/reorganizing my crafty area. Yay! Go me! (don't you just love when you finally get around to doing something, and it's not as hard or takes as long as you thought it would be? I love that feeling!)
I'm not quite done with it yet, but it's looking great! I spray painted some stuff lying around to help organize too.
Stay tuned for that update!
In the meantime... While sorting all my precious precious piles of craft supplies, I found 4 packages of pre-cut quilt squares. What did I immediately do? Why, set up the sewing machine, of course!
I "needed" a break from all my hard work, so I finished the day by making a quilt top from all those little squares! I conveniently found matching pink and while polka dot fabric, plain white fabric and the aqua patterned fabric, and I only had to look in 2 boxes stashed in the closet! (one day that'll all be sorted out/given away. Minimizing my stuff. I'm working on it slowly.)
So, here's the finished diversionary project. Hope you like it! My new quilt top. I have more to go to finish it up, but the hard part's done
It'll look even better once I iron it. I'm going to use a extra sheet that was destined to the thrift shops as the backing. I love that I can use stuff around the house!
I put a stripe of pink around the white. It helps finish it off. It looked funny just with the white edge. It needed something else. I debated a stripe of aqua blue, but that would be too much, I think.
I haven't even trimmed the random threads..
Total cost:
4 quilt square packages found in my personal stash= free
White fabric = free
pink polka dot fabric = free
aqua print fabric = free
white sheet for quilt backing = free
The only thing I need to purchase is the batting. Nice! And hopefully with a 40% off coupon, too.
What fun things have you made instead of doing something else? :)
I read a study finding these diversionary things are good, They help you concentrate harder, later on the original thought. I can't find the exact article, but I found another one here that's equally as good, or better!
Happy crafting!
Hugs!
Caroline
Wednesday, August 6, 2014
Sunday, August 3, 2014
DIY necklace holder
I've been wanting to show you my awesome necklace organizer/holder! It's totally easy to make, and cheap too!
Why did I make my own? Well, I have tons of necklaces squirreled away in different spots. If I don't see them, I won't wear them. You know that old saying, "Out of sight, out of mind."? Yep. Totally true in this situation. I needed to find a way to hang them all together where I can see them. This way, I'll actually wear them, and now I know what I don't have, so the next time I'm out shopping I can pick up something to go with that new darling outfit.
Like we really need a reason to make a necklace holder, right? ;) But in case you do, let's just say this will save you time and money in the long run so you won't wind up with 3 necklaces to match the outfit you wear once a year and nothing to match the outfits you wear all the time (office wear, those Date Night little numbers you look smoking hot in, etc.) Plus you'll always look fabulously accessorized!
Like you, I've seen lots of cute and different ways to hang up and display necklaces. I've tried out quite of few of these ideas too. I just wasn't excited about necklaces in picture frames. I have more than 4 necklaces, and not enough wall space to display all those frames (or the effort to hunt down nice big picture frames for cheap). I've tried using hangers, and even put necklaces on those over the door storage hooks. The knobs on a shelf are cute, but once again, I'd have to use more than one set.
I must have mentioned it a few times, cause my sister Natalie came up with the fabulous idea to using a regular ol' trellis from the hardware store. At first, I was like, "Nah.. It's not going to be cute at all." I just couldn't picture it. I was thinking a trellis is some rough, splintery wood that'll take way too much work to sand down. But one day, she walked in with this cute white plastic trellis, and said here, go for it!
This trellis came in the standard 12 feet. I cut a couple inches off the top with a my trusty folding hack saw. I probably should have measured, but I just eyeballed it, and cut some off, then propped it against the wall, It wasn't quite right so I cut a little bit more off. The second time around it fit, so I was done. The plastic was really easy to cut. I could have used a really sharp stake knife and sawed through it too. I have mine from floor to ceiling. I used a couple small nails here and there to attach it to the wall.
The best thing about it? it fits behind the closet door! Totally low profile and right next to all my clothes. I can stand there and pick something out.
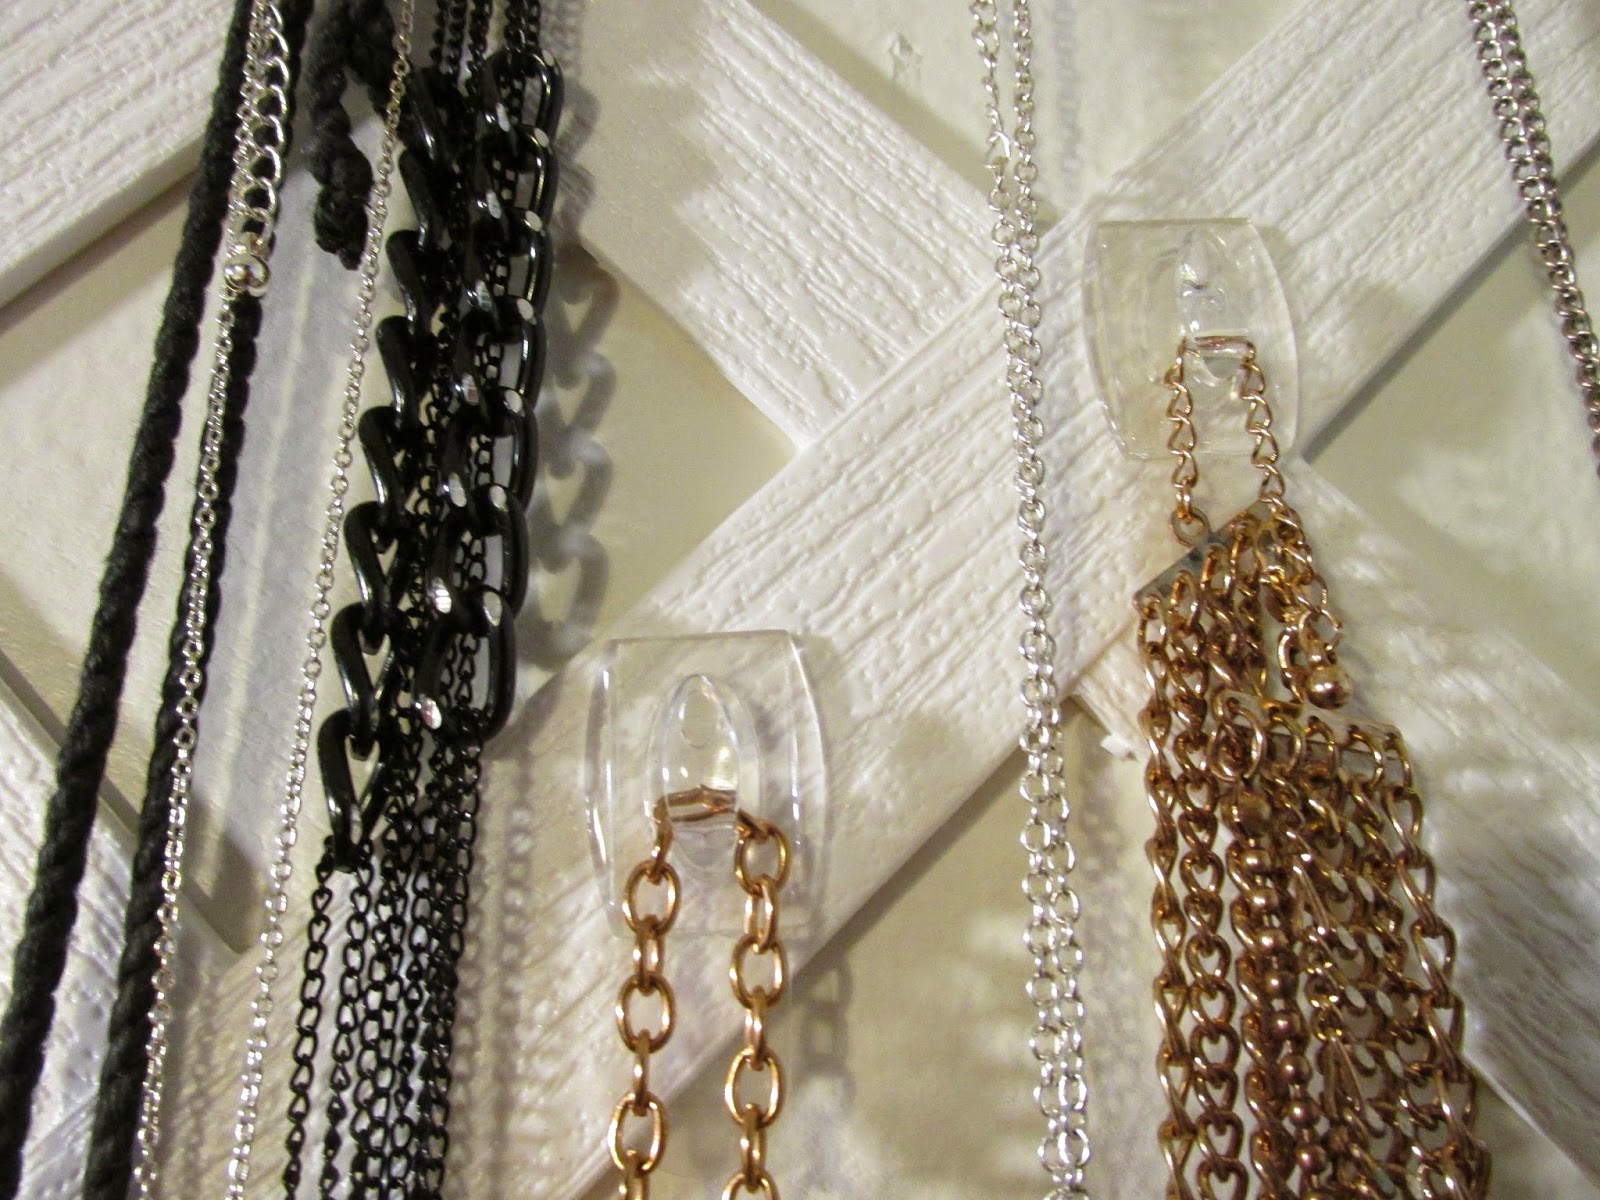
Natalie randomly attached lots of Command mini clear hooks to the trellis for me. I used to have more hooks attached, but a couple popped off during a move. I haven't gotten around to putting more on.
Yes, I do have tons more necklaces that aren't hung up. Then there's the antique jewelry box with my stash of pearls and all the other pretty things
close up of command hooks
Hugs!
Caroline
Sunday, July 20, 2014
National Ice Cream Day!
Woo Hoo! I'm so glad today is National Ice Cream Day!
I've been eyeballing the Ben & Jerry's Chocolate Peppermint Crunch in my freezer. I think I have a fantastic reason to dig in, don't you?! :)
Do you know what else is lovely? Willie Nelson's Peach Cobber. I found it once, a couple months ago.. It's my new favorite flavor.
I've been eyeballing the Ben & Jerry's Chocolate Peppermint Crunch in my freezer. I think I have a fantastic reason to dig in, don't you?! :)
| Hello, my friend |
Do you know what else is lovely? Willie Nelson's Peach Cobber. I found it once, a couple months ago.. It's my new favorite flavor.
| You don't need the munchies to crave this! |
This is seriously THE BEST flavor ever!! If you can find it, get it! (And if anyone finds this in a Las Vegas store, call me. I'll run right over and buy a bunch! For reals its' that good.)
Another tasty treat...
Happy Sunday everyone!
Caroline
Caroline
Thursday, July 17, 2014
Sharpie Mugs
You know how you see crafts on Pinterest you want to make, but never seem to get around to doing it? Well, I decided to try this Sharpie mug business out myself. It's totally fun! And cheap!
Last Sunday at church, we made Sharpie mugs with a bunch of the cutest 8 year olds you've ever seen! :) Fun! They went so fast I didn't think to take a picture. Here's their finished mugs.
| I got these large mugs/bowls with handles at the dollar store |
A conversation between two 8 year old's:
Miss Q: "I hold my cup like this and say; (while staggering around, holding her back) 'I need my morning coffee before work.' "
Miss M: "You're not supposed to drink coffee!!"
Miss Q: "I know. I'm pretending"
Can you guess which mug's Miss Q's?
One girl wasn't very pleased that I didn't bring all the other colored sharpies, just the black ones. She decided to finish her mug at home, so she can use all the "Good" colors. She's a great artist. I can't wait to see mug!
These are their mugs from February. Some of the colors faded out, or turned brownish after baking. I decided this time to stick with black.
![]() |
| Draw all over your mugs from the dollar store. |
![]() |
| throw them into the oven |
![]() |
| After baking. They lost a bit of color, but not much. Still awesome! |
There a tons of tutorials everywhere online and on Pinterest. One blogger, Craftaholics Anonymous has a fabulous post, 21 Tips for DIY Sharpie Marker Mugs
Too bad I found this AFTER we made these mugs. Next time I'll use some of her tips and not use the actual Sharpie, but invest in a $3 pen that's specifically meant to write on porcelain. Who knew? :)
The kids had so much fun, I decided to make myself a mug or 2...
Caroline
Sunday, July 13, 2014
Sunday Funday! Guilty Pleasures
Here are some of my guilty pleasures that I've been thankful for lately. Don't judge :)
1. Bollywood movies!
I talked my niece into going with me/took her to her very first Bollywood movie this weekend. She really liked it! I think we have a believer! We saw Humpty Sharma Ki dulhania It was a fun, cute little love story. Plus the men were hot! What more do you want? If you're new to the Bollywood scene, I suggest checking out Bollywood 101 A very informative and funny post!
2. The Bachelorette.
I know, I know!
My niece got me hooked. I'm almost embarrassed to talk about it.
But, since I'm not... A couple weeks ago, Brian kept messing up on dates with Andi, the Bachelorette. Later, he'd want a re-do with her to try to make the situation better. He wanted to make up for being awkward (and acting like he's 13 cause cooking's not his thing). Make up for not even trying to kiss the girl at the most romantic spots ever. Make up for not doing basic date stuff like holding her hand We all don't get re-do's like on a reality show. My take home message was:
Be Courageous!
Live in the Moment, we may not get that second chance.
Be open and share those feelings!
and you thought all reality shows are crap! :)
3. Pinkbox donuts. I can't decide which is my favorite, the Fat Elvis or the Bacon Maple bar, or the Key Lime pie! All are pretty dang good!
4. Entertainment Weekly's list '55 Movies Every Kid Should See'.
I'm only missing 2 (they're old Charlie Chaplin films so I don't feel bad at all) but poor Aimee The Niece hasn't seen a whopping 13 of these movies! I know what we'll be watching on Netflix for a while: The Princess bride, The Lord of the Rings, Star Wars...
Yes, Yes! I know!! How did this happen?? I am speechless too. If I ever say to her, "Obi wan, you're my only hope" she'll have no idea what I'm talking about. Sigh X Men is also on her never-seen list. I think I'm more saddened that she never got to see my Marvel Comic Hero crush, Wolverine. Maybe she was young? Maybe her mother was protecting her from all that hotness? lol!
. We better get started tonight.
5. Kid games! We hit the local thrift shops and found a bunch of really cool games! Chute and Ladders, Sorry Disney version, Battleship, Clue, Operation, etc. We've had a fun time playing each one. (gotta make sure all the pieces are there!) Now no little kid will ever be bored at my house again. Time to have a game party!
What are some of your guilty pleasures/things you're thankful for this week?
Hugs!
Caroline
Friday, July 4, 2014
Tied Quilt: A How-to guide
Well Hi there friends!
I've been busy as a bee doing all sorts of fun things lately. Here's one of the crafty things I've made.
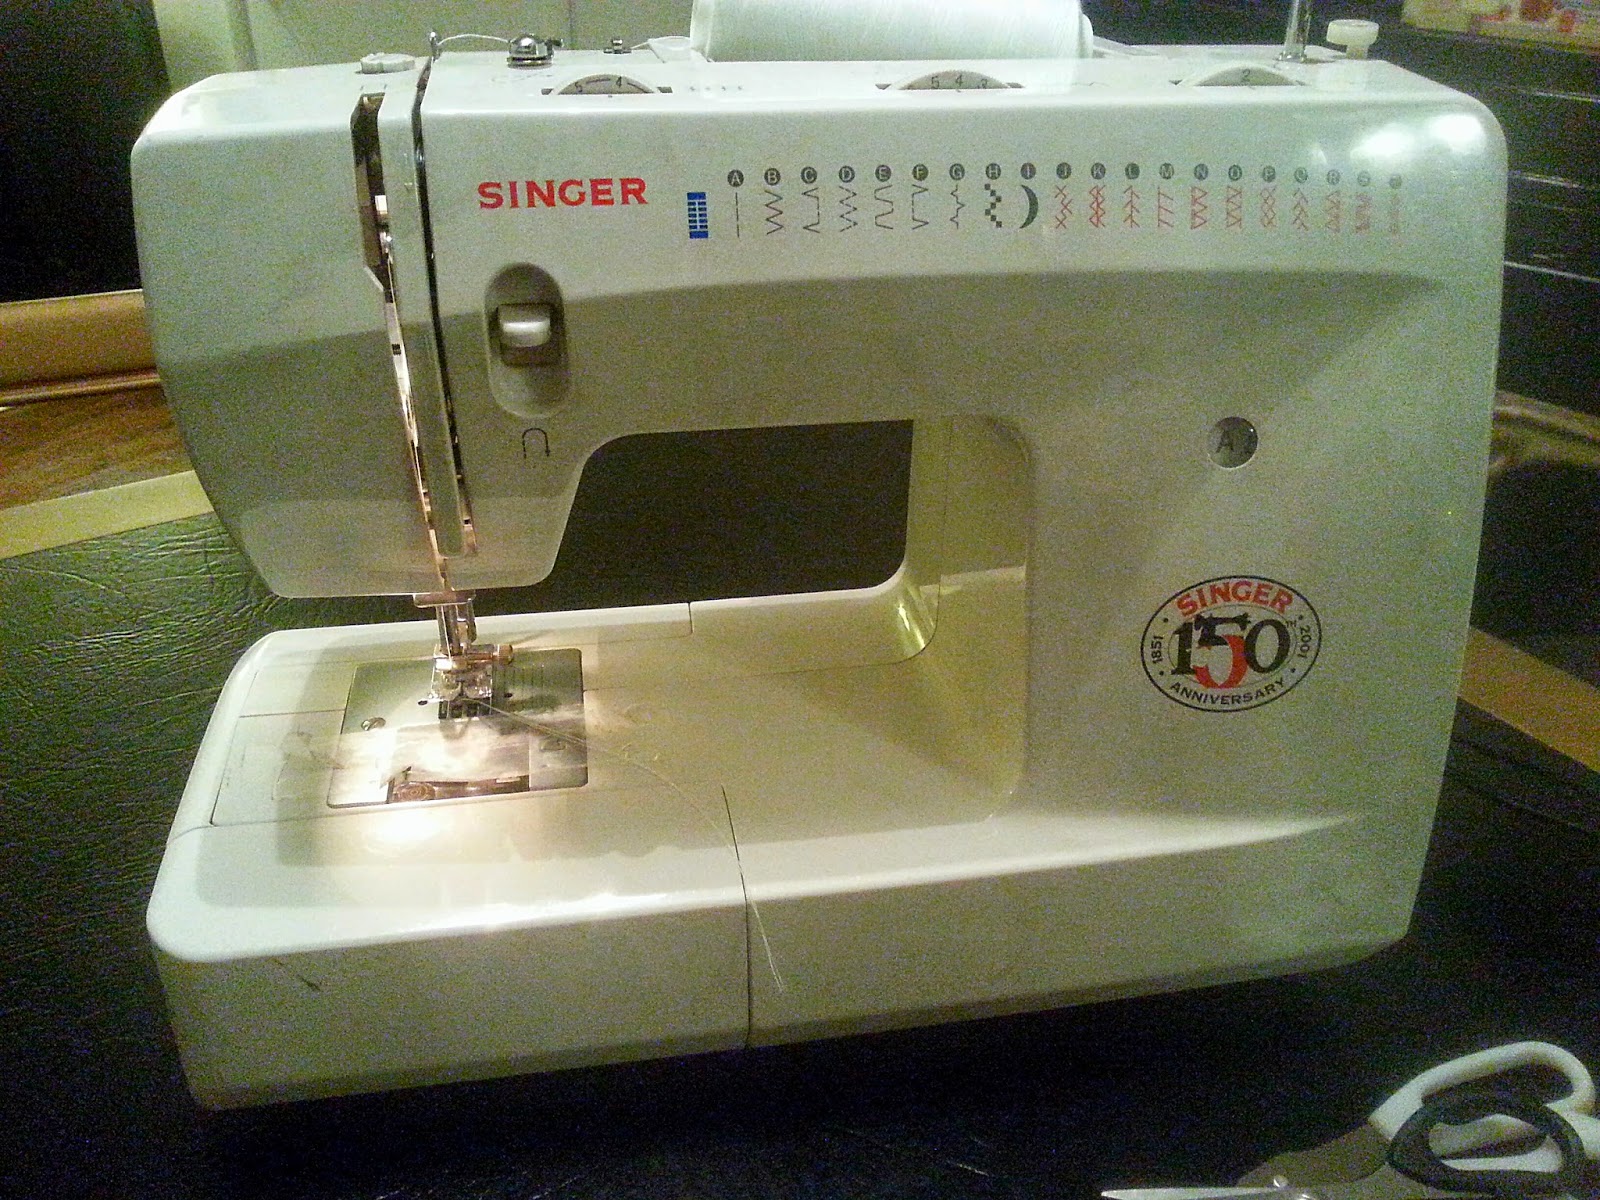
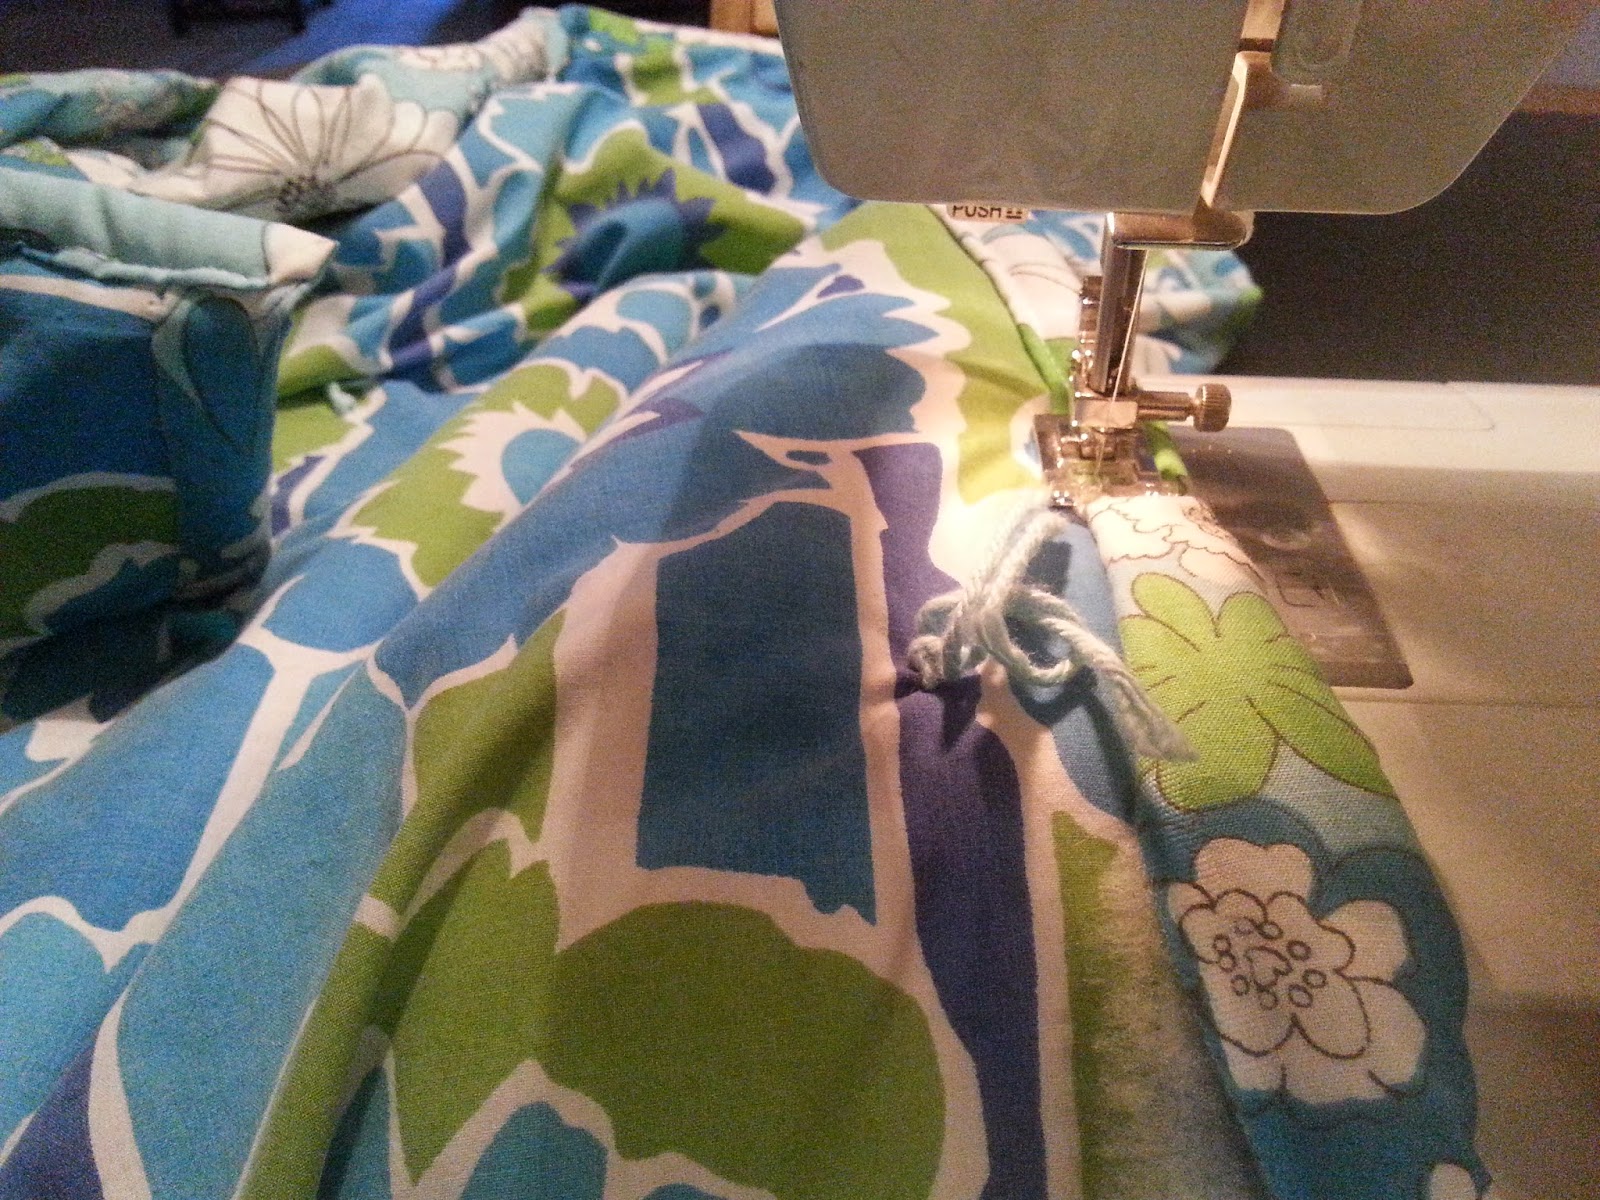
The other day was National Sewing Machine Day, (June 13th to be exact) and in honor of the occasion, I dug out my sewing machine (out of the ever growing craft pile that will one day be fabulously organized, I swear!) and low and behold, it still works like a champ! Yay!
Now, what to sew?? Or, to be precise, What to sew first?
Since it was on the closet shelf staring at me, I finished a blanket I made out of 2 vintage sheets straight from the 70's! I had previously tied them, and just needed to finish the edges. Totally easy project. Couple straight lines and I was done!
Can you tell the 2 sheets apart? They match so well! I'm still really pleased that I found 2 different sheets during 2 different shopping trips, that totally match! (I'll post a full picture of the blue 70's blanket later.)
Then my neighbor reminded me that I promised to make her a quilt. Good timing huh?
So.. since I was starting from the beginning this would be the perfect time to take pictures!
I realized after the fact that all my pictures are dark. It's highly likely due to "operational error", but I'm thinking it's because every time we work on this it's after dark, edging towards the middle of the night? I'm gonna go with the middle-of-the-night excuse or that it's planned. You know, "Mood Lighting." Dark. Cozy. Blankets. See? I meant to make the pictures dark. :)
Let's get to it, shall we?
This is my instructional on How to make a Tied Quilt, Barney-style (the easy way)
You'll need:
1. 2 flat sheets in the size of your choice,
2. quilt batting (the fluffy stuff) in the size of your choice.
3. big safety pins, and lots of them
4. big quilting needle and yarn
5. scissors
6. sewing machine or supplies to sew by hand
7. find a big space to lay out your sheet. I've done this on the living room floor, in a gym, outside, on a ping pong table, whatever flat area that'll fit your fabric. I've made many a tied quilt like this without a quilt frame. I've had them for years with no problems. (I once made a quilt from cut up jeans, a forest green flannel sheet, with a working electric blanket as batting. But that's another story... )
Instructions:
A blanket is basically a big fabric sandwich. You'll be using the sheets as the top and bottom bread with the fluffy stuff in the middle.
Step 1. place one sheet with the side you want to see, facing down. Spread it out nice and flat. This will be the bottom of the quilt. Make the good side face outwards, or down towards the ground.
Step 2. lay/spread the batting out over the sheet, smoothing out any wrinkles. don't worry that you have extra batting on one or two sides. This will get cut off eventually. It's better to have the batting hang over the edge than not even reaching the edge.
Step 3. Place the top sheet/quilt top on top of the batting. with the good side facing up, smoothing out any wrinkles.Lining up as much as possible with the bottom sheet. Get at least one long side and one short side matching. You can adjust/cut off the other 2 sides later to even things up.
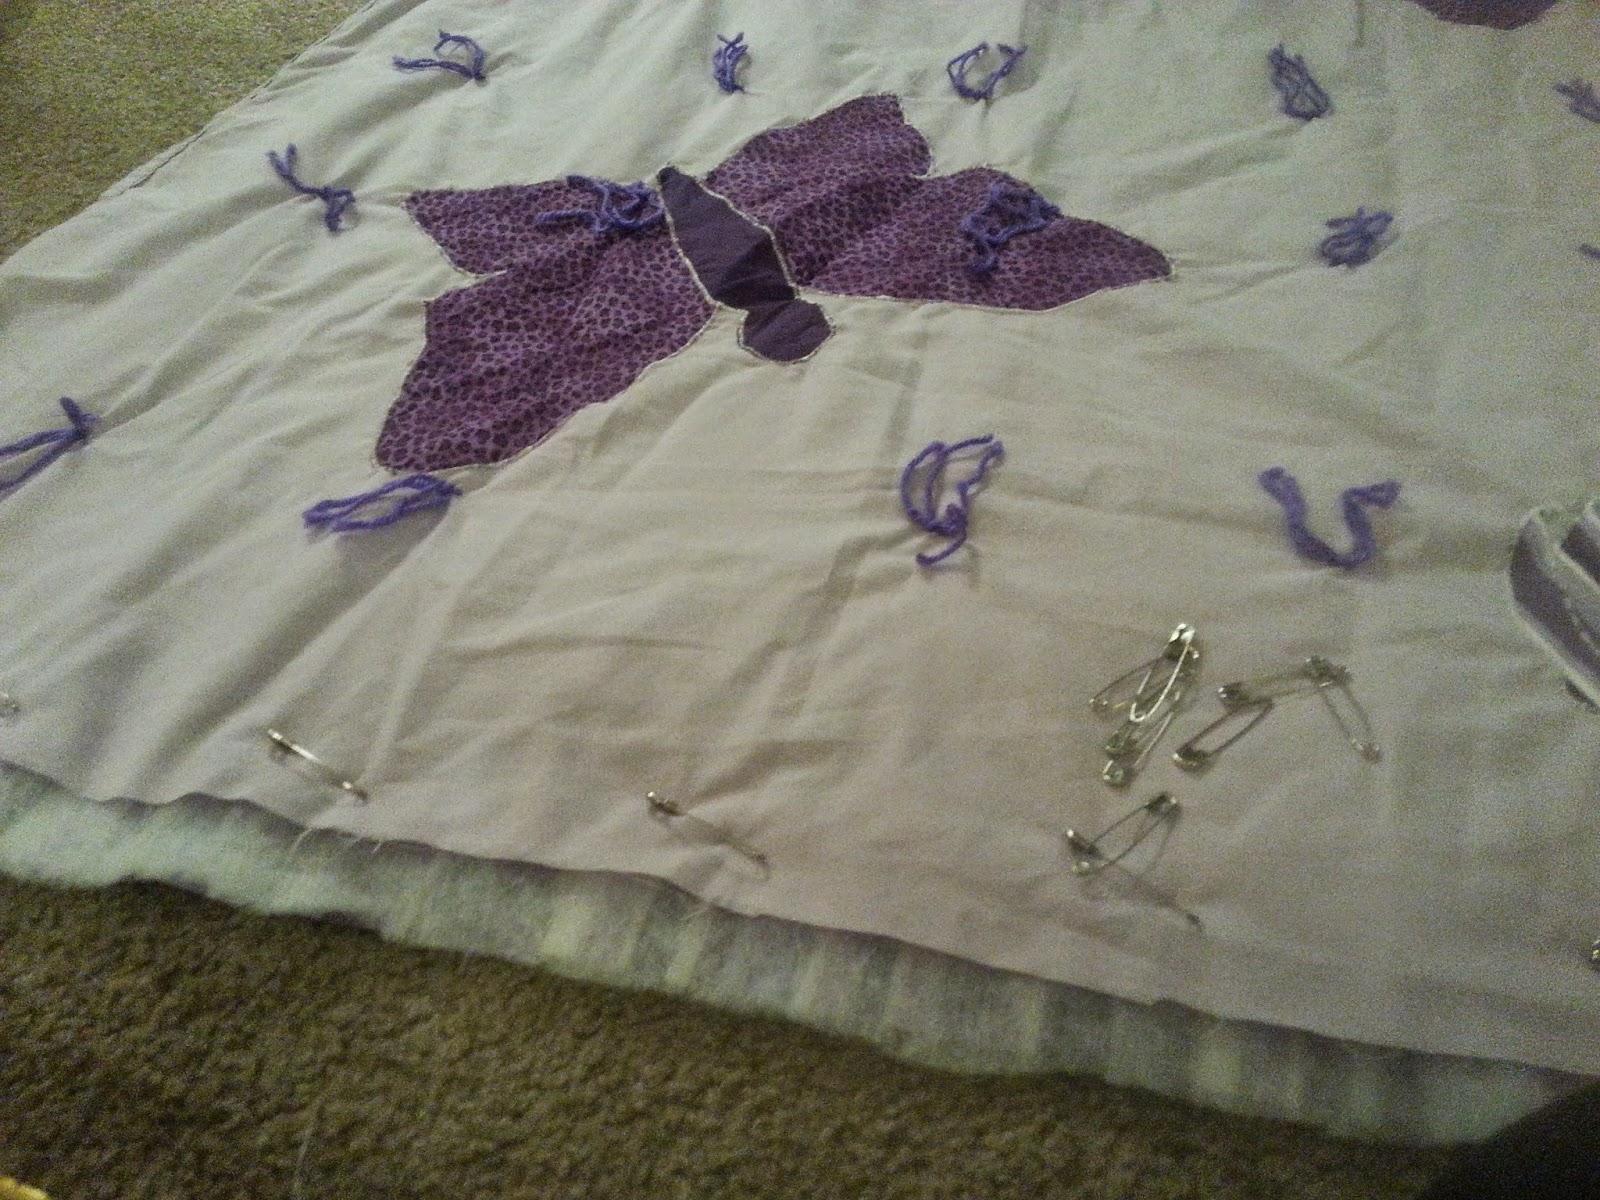
Step 4. Safety pin the crap out of it!! The safety pins will mark where you want to tie the quilt together. You can place the pins randomly, or make exact lines. Your choice. The batting packaging will specify how far apart it needs to be anchored. Make your pin spots there. We used the low loft batting which calls for pin placement every 5-6 inches.
Break time! Here's where you can stop if you need to. Everything should be all pinned together so you can fold up the blanket to take with you, or get it out later while watching a movie. Now is when you can trim off the extra batting and/or fabric, make all the sides line up.
Step 5. Tie the quilt. Use your big eyed needle (usually called a quilting needle) and thread it with yarn, color of your choice. Have a double strand of yarn, but don't knot the bottom. You can also use multiple strands of embroidery floss, or even super skinny ribbon. Whatever matches your blanket.
To tie: stab the threaded needle down through everything then right back up. Pull the yarn through to close to the end of your yarn, but not all the way, leaving a short tail to work/tie with. Tie a square knot. (Right over Left, then Left over Right) This knot is more secure, less likely to come undone than regular double knots. Cut the yarn so both tail ends are the same length. Then repeat until your done tying your blanket. Remove the safety pins as you go.
Step 6. Once it's all tied, it's time to finish the edges. "Finishing the edges" sounds fancy, but its basically hemming, but through all the layers. The edge of bottom sheet is rolled up over onto the top side and sewn down. If that sounds complicated, just grab the edge of the blanket, all layers of fabric, (top, fluffy in the middle, and bottom) and fold it once, fold it again, then sew it down. You can pick which side you want to the fabric to roll to. You can have the bottom rolled up to the top, or the top fabric rolled to the backside. Whatever looks good. It's your blanket, it's up to you. :)
Sew down all 4 sides and your done!
Look at that ! A blanket in 6 easy steps! No quilt frame needed. :)

Here it is! Sophia's finished blanket! She's holding it up so you can't see her, but she's there. (it looks better in person)
Step 2. Cut out your fabric pieces. I cut out butterfly bodies in solid purple and wings in purple leopard print, both from my personal stash.
Step 3. Interface the back of your pieces. (this helps when you sew it to the main fabric. if not, it's really flimsy and can stretch around) I ironed fusible interfacing to the backs of the body and wings. I didn't want to iron the interfacing to my ironing board, so I used pieces of paper under the body parts. (This was the perfect time to use leftover orange paper from Halloween)
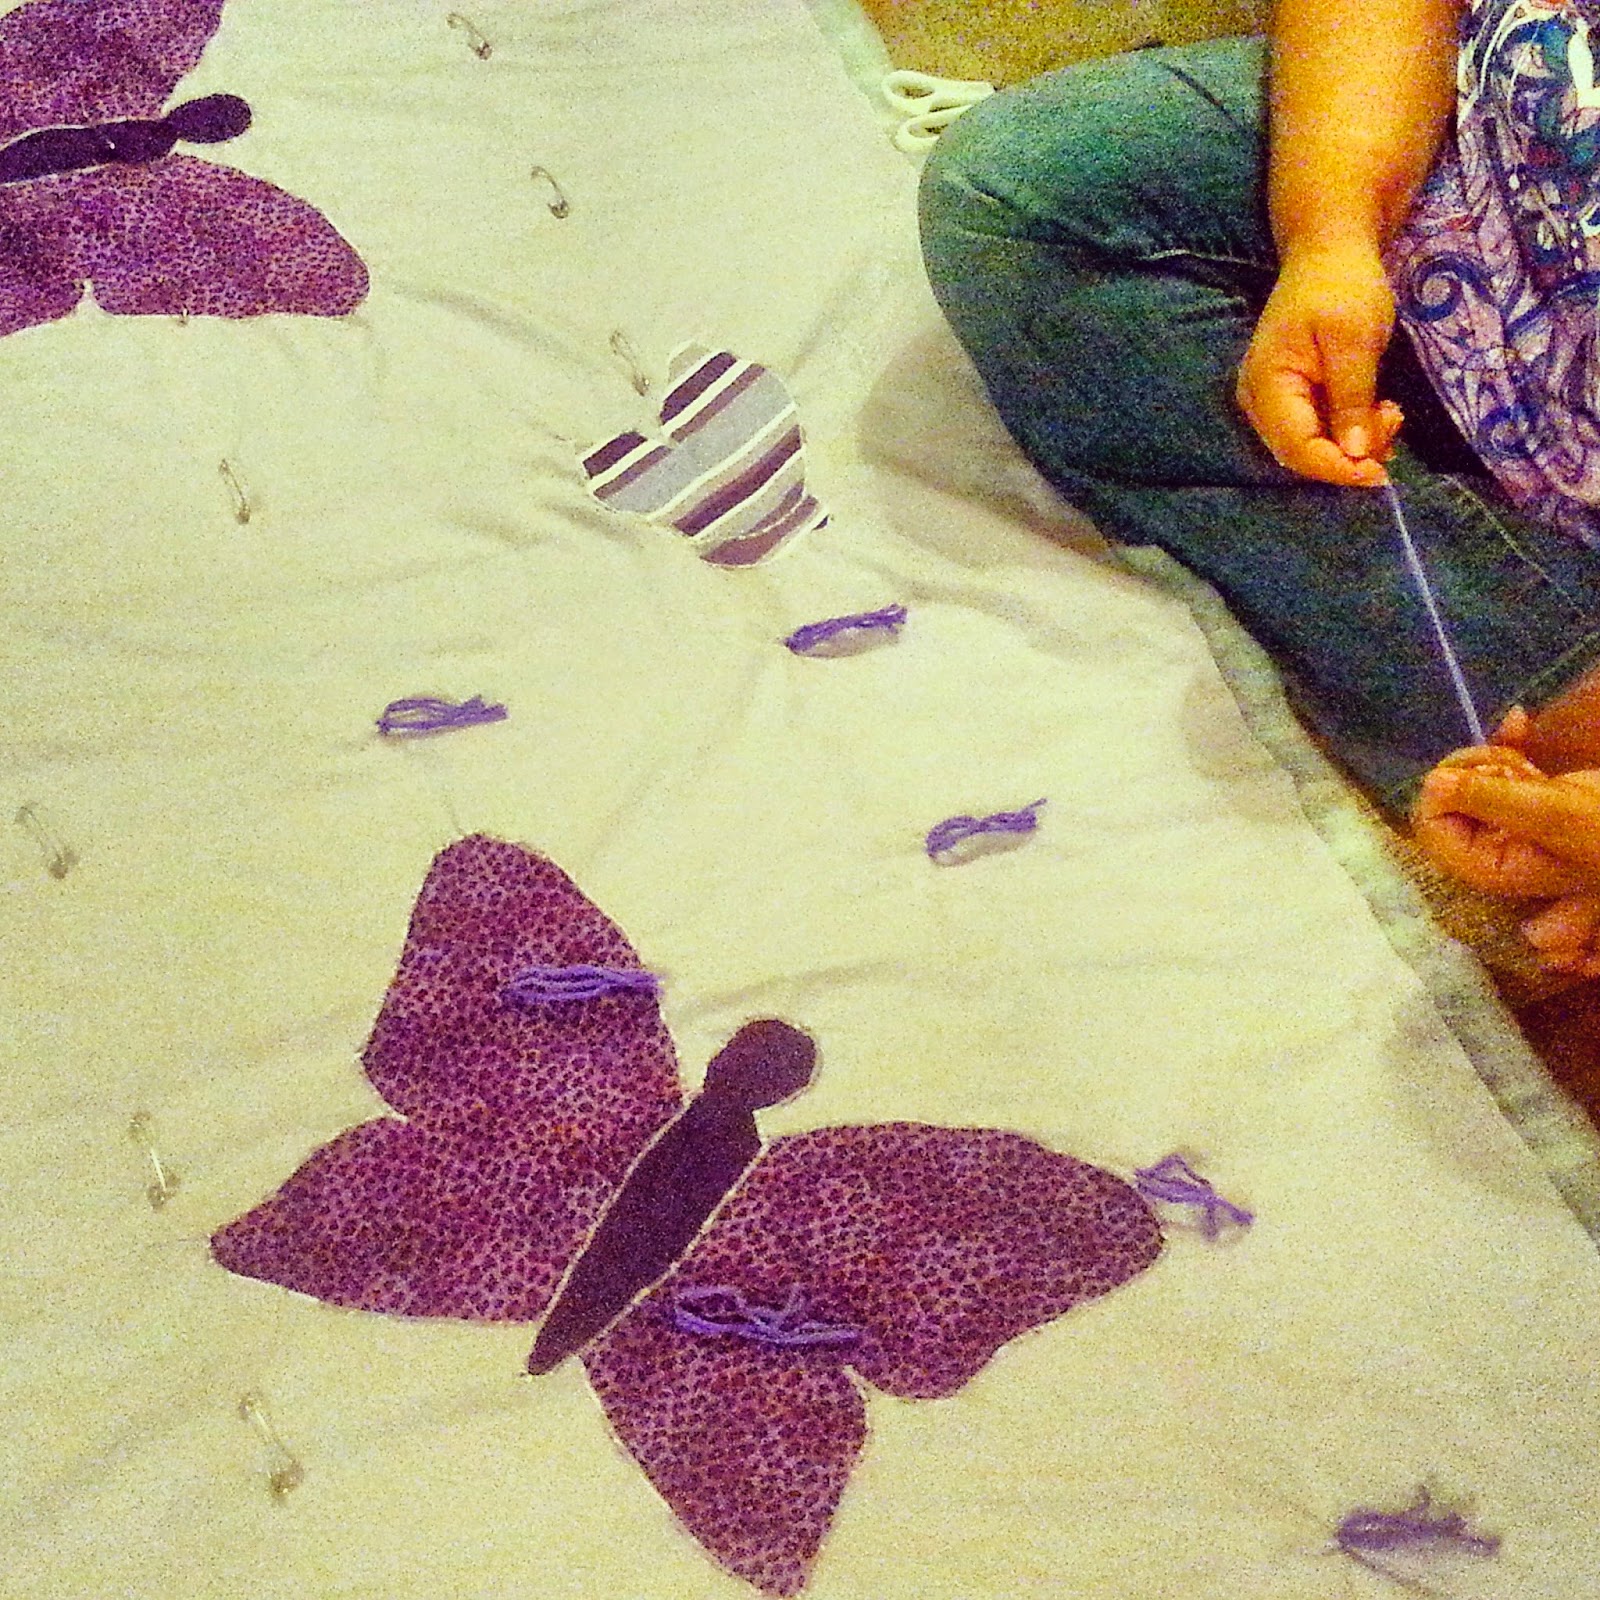
Step 4. cut or trim the interfacing from your applique pieces. Here's us cutting out butterfly bodies. The paper backing just falls right off. The striped butterfly is in profile. I think in hindsight, this would have been better in a solid, and the wings or body of the big butterfly in a stripe. The small profile gets lost in the stripe.
Step 5. Placement of your pieces. Here's my niece Aimee laying out the butterflies
Step 6. Sew everything down.
I used a close zigzag stitch and sewed over the edges. I went around each wing and then over the body. The big butterfly is 3 separate pieces. When it's all done, they look really good. Even better considering it's my first time. It's a lot of prep work with the ironing and pinning, but it's totally worth the effort.
Now back to step 1 of laying out your quilt.
Hugs!
Caroline
I've been busy as a bee doing all sorts of fun things lately. Here's one of the crafty things I've made.

The other day was National Sewing Machine Day, (June 13th to be exact) and in honor of the occasion, I dug out my sewing machine (out of the ever growing craft pile that will one day be fabulously organized, I swear!) and low and behold, it still works like a champ! Yay!
Now, what to sew?? Or, to be precise, What to sew first?
Since it was on the closet shelf staring at me, I finished a blanket I made out of 2 vintage sheets straight from the 70's! I had previously tied them, and just needed to finish the edges. Totally easy project. Couple straight lines and I was done!
Can you tell the 2 sheets apart? They match so well! I'm still really pleased that I found 2 different sheets during 2 different shopping trips, that totally match! (I'll post a full picture of the blue 70's blanket later.)
Then my neighbor reminded me that I promised to make her a quilt. Good timing huh?
So.. since I was starting from the beginning this would be the perfect time to take pictures!
I realized after the fact that all my pictures are dark. It's highly likely due to "operational error", but I'm thinking it's because every time we work on this it's after dark, edging towards the middle of the night? I'm gonna go with the middle-of-the-night excuse or that it's planned. You know, "Mood Lighting." Dark. Cozy. Blankets. See? I meant to make the pictures dark. :)
Let's get to it, shall we?
This is my instructional on How to make a Tied Quilt, Barney-style (the easy way)
You'll need:
1. 2 flat sheets in the size of your choice,
2. quilt batting (the fluffy stuff) in the size of your choice.
3. big safety pins, and lots of them
4. big quilting needle and yarn
5. scissors
6. sewing machine or supplies to sew by hand
7. find a big space to lay out your sheet. I've done this on the living room floor, in a gym, outside, on a ping pong table, whatever flat area that'll fit your fabric. I've made many a tied quilt like this without a quilt frame. I've had them for years with no problems. (I once made a quilt from cut up jeans, a forest green flannel sheet, with a working electric blanket as batting. But that's another story... )
Instructions:
A blanket is basically a big fabric sandwich. You'll be using the sheets as the top and bottom bread with the fluffy stuff in the middle.
Step 1. place one sheet with the side you want to see, facing down. Spread it out nice and flat. This will be the bottom of the quilt. Make the good side face outwards, or down towards the ground.
![]() |
| This is just an example so it's on the table |
Step 2. lay/spread the batting out over the sheet, smoothing out any wrinkles. don't worry that you have extra batting on one or two sides. This will get cut off eventually. It's better to have the batting hang over the edge than not even reaching the edge.
Step 3. Place the top sheet/quilt top on top of the batting. with the good side facing up, smoothing out any wrinkles.Lining up as much as possible with the bottom sheet. Get at least one long side and one short side matching. You can adjust/cut off the other 2 sides later to even things up.
![]() |
| bottom-stripe, top=print. fluff=middle |
Step 4. Safety pin the crap out of it!! The safety pins will mark where you want to tie the quilt together. You can place the pins randomly, or make exact lines. Your choice. The batting packaging will specify how far apart it needs to be anchored. Make your pin spots there. We used the low loft batting which calls for pin placement every 5-6 inches.
Break time! Here's where you can stop if you need to. Everything should be all pinned together so you can fold up the blanket to take with you, or get it out later while watching a movie. Now is when you can trim off the extra batting and/or fabric, make all the sides line up.
![]() |
| Pinning completed! Sophia starting the tying process |
To tie: stab the threaded needle down through everything then right back up. Pull the yarn through to close to the end of your yarn, but not all the way, leaving a short tail to work/tie with. Tie a square knot. (Right over Left, then Left over Right) This knot is more secure, less likely to come undone than regular double knots. Cut the yarn so both tail ends are the same length. Then repeat until your done tying your blanket. Remove the safety pins as you go.
![]() |
| If your pin line is crooked you can adjust as you tie. |
![]() |
| I pinned the edges to make sure they're straight, then trimmed them to match. |
![]() |
| It's a different blanket, but I'm still sewing the edges. |
Look at that ! A blanket in 6 easy steps! No quilt frame needed. :)
Here it is! Sophia's finished blanket! She's holding it up so you can't see her, but she's there. (it looks better in person)
Bonus round!
If you to don't want a plain sheet as a quilt top, and you're feeling creative and up to a challenge, then this part is for you!
Here's how to applique a quilt top
We had the striped sheet and a plain lavender one. It needed to be jazzed up a bit. Sophia loves purple and butterflies. What's better than purple butterflies!? I'd like to start by saying I've never done this before. If you are an expert at applique and have some tips, I'd love to hear them, or share a link!
Step 1. Decide on your shape.
I looked up butterfly patterns online. I decided on 2 sizes of butterflies, a big one with the wings spread open and a smaller one in profile view. I free-handed the pattern from a couple clip art images.
Step 2. Cut out your fabric pieces. I cut out butterfly bodies in solid purple and wings in purple leopard print, both from my personal stash.
Step 3. Interface the back of your pieces. (this helps when you sew it to the main fabric. if not, it's really flimsy and can stretch around) I ironed fusible interfacing to the backs of the body and wings. I didn't want to iron the interfacing to my ironing board, so I used pieces of paper under the body parts. (This was the perfect time to use leftover orange paper from Halloween)
Step 4. cut or trim the interfacing from your applique pieces. Here's us cutting out butterfly bodies. The paper backing just falls right off. The striped butterfly is in profile. I think in hindsight, this would have been better in a solid, and the wings or body of the big butterfly in a stripe. The small profile gets lost in the stripe.
Step 5. Placement of your pieces. Here's my niece Aimee laying out the butterflies
![]() |
| Pinning of the butterflies |
I used a close zigzag stitch and sewed over the edges. I went around each wing and then over the body. The big butterfly is 3 separate pieces. When it's all done, they look really good. Even better considering it's my first time. It's a lot of prep work with the ironing and pinning, but it's totally worth the effort.
Now back to step 1 of laying out your quilt.
Happy sewing everyone!
Caroline
Happy 4th of July!
Here's to everyone having a safe and fun-filled 4th of July!
I am so thankful for all those who have bravely fought for our freedom.
Go USA!
Here's is a little something I whipped up last year as a fun gift for my sister. It's a lovely desk set. A Eagle pen holder and a paperclip holder.
You too can make the perfect fun/gag gift for your super patriotic friends and family. This is just a big eagle from Michael's with holes drilled in it's back. The smaller eagle is glued to the edge of a glass ashtray I found at a thrift store. Add some Sharpies and a ribbon, and you're done!
This would even make a fantastic centerpiece if you use the Big Eagle Pen Holder to hold a bunch of mini American flags. Hmm. I wonder if I can borrow this back from my sister??
Here's a little song to set the "God Bless America" mood. :)
Hugs!
Caroline
Subscribe to:
Posts (Atom)
love and cute strangers
"A perfectly cute stranger fell in love with me last Saturday. Let me explain. It all started a couple weeks before Valentines...